Imagine you have a Linux machine with KVM enabled or support for nested virtualization. If you are using cloud, you can use AWS or even GCP to create a VM with nested virtualization enabled or either with affordable price, you can use DigitalOcean or Linode.
Another option you can consider is to have own hardware to run Firecracker. But this is not that easy to buy the hardware if you have limited budget. And that’s where we must use our local machine to run Firecracker.
NOTE
The experiment has been done on my local machine (macOS) with the help of UTM.
The steps to run Firecracker on macOS are the same as on Linux. The only difference is using the aarch64 Firecracker binary instead of x86_64. After installing UTM, create a new VM with the following configuration:

Pick your distribution of choice and download it. I used Ubuntu 25.10 for the experiment. The installation process is straightforward, I assume you’re familiar with it.
Now that the VM is ready, let’s check if it supports nested virtualization.
cat /boot/config-$(uname -r) | grep CONFIG_KVMIf the output is CONFIG_KVM=y, then the VM is supporting nested virtualization and the module is built into the kernel as we sometimes rely with lsmod command to check if the module is loaded or not.
When compiling the kernel, you can enable modules in two ways: build them into the kernel (available at boot) or compile them as loadable modules (must be loaded after boot). To verify if KVM is working, you can check using lsmod (for loadable modules), dmesg (for kernel messages), or the kvm-ok command.

WARNING
You need to install cpu-checker before running the kvm-ok command. When KVM is supported, the output will be INFO: /dev/kvm exists.
Now, we can start to download the Firecracker binary and do make sure the binary architecture is aarch64.
wget https://github.com/firecracker-microvm/firecracker/releases/download/v1.14.0/firecracker-v1.14.0-aarch64.tgz
tar -xvf firecracker-v1.14.0-aarch64.tgz
chmod +x release-v1.14.0-aarch64/firecracker-v1.14.0-aarch64
mv release-v1.14.0-aarch64/firecracker-v1.14.0-aarch64 /usr/local/bin/firecracker
Continue to the next step based on my blog post here.
After following all the steps, I initially felt something was wrong with the internet connection inside the microVM. I checked the network interface and it was up, but I couldn’t ping the gateway or any other IP address.
Found that the problem is with the network interface name of the VM itself. The interface name is enp0s3, I’m thinking the name is doesn’t matter while creating the microVM but it’s not the case. Then I search for the difference between eth0 and enp0s3 by reading the discussion from here.
enp0s3:
| | |
v | |
en| |   --> ethernet
  v |
  p0|   --> bus number (0)
    v
    s3  --> slot number (3)
The interface name is based on the bus path and slot of the device. In fact, I just know the issue is related with Predictable Network Interface Names.
But, the issue is not with the interface name of the VM, it’s with the interface name of the microVM. Internet on the VM is working fine but not in the microVM, so I’m thinking to change the step of setting up network interface for microVM using below command.
curl -X PUT --unix-socket "${API_SOCKET}" -i \
    -H 'Accept: application/json' \
    -H 'Content-Type: application/json' \
    --data "{
        \"iface_id\": \"eth0\",
        \"host_dev_name\": \"$TAP_DEV\"
    }" \
    "http://localhost/network-interfaces/eth0"
We need to change the kernel boot arguments to use eth0 instead of enp0s3 and finally the microVM should be able to access the internet.

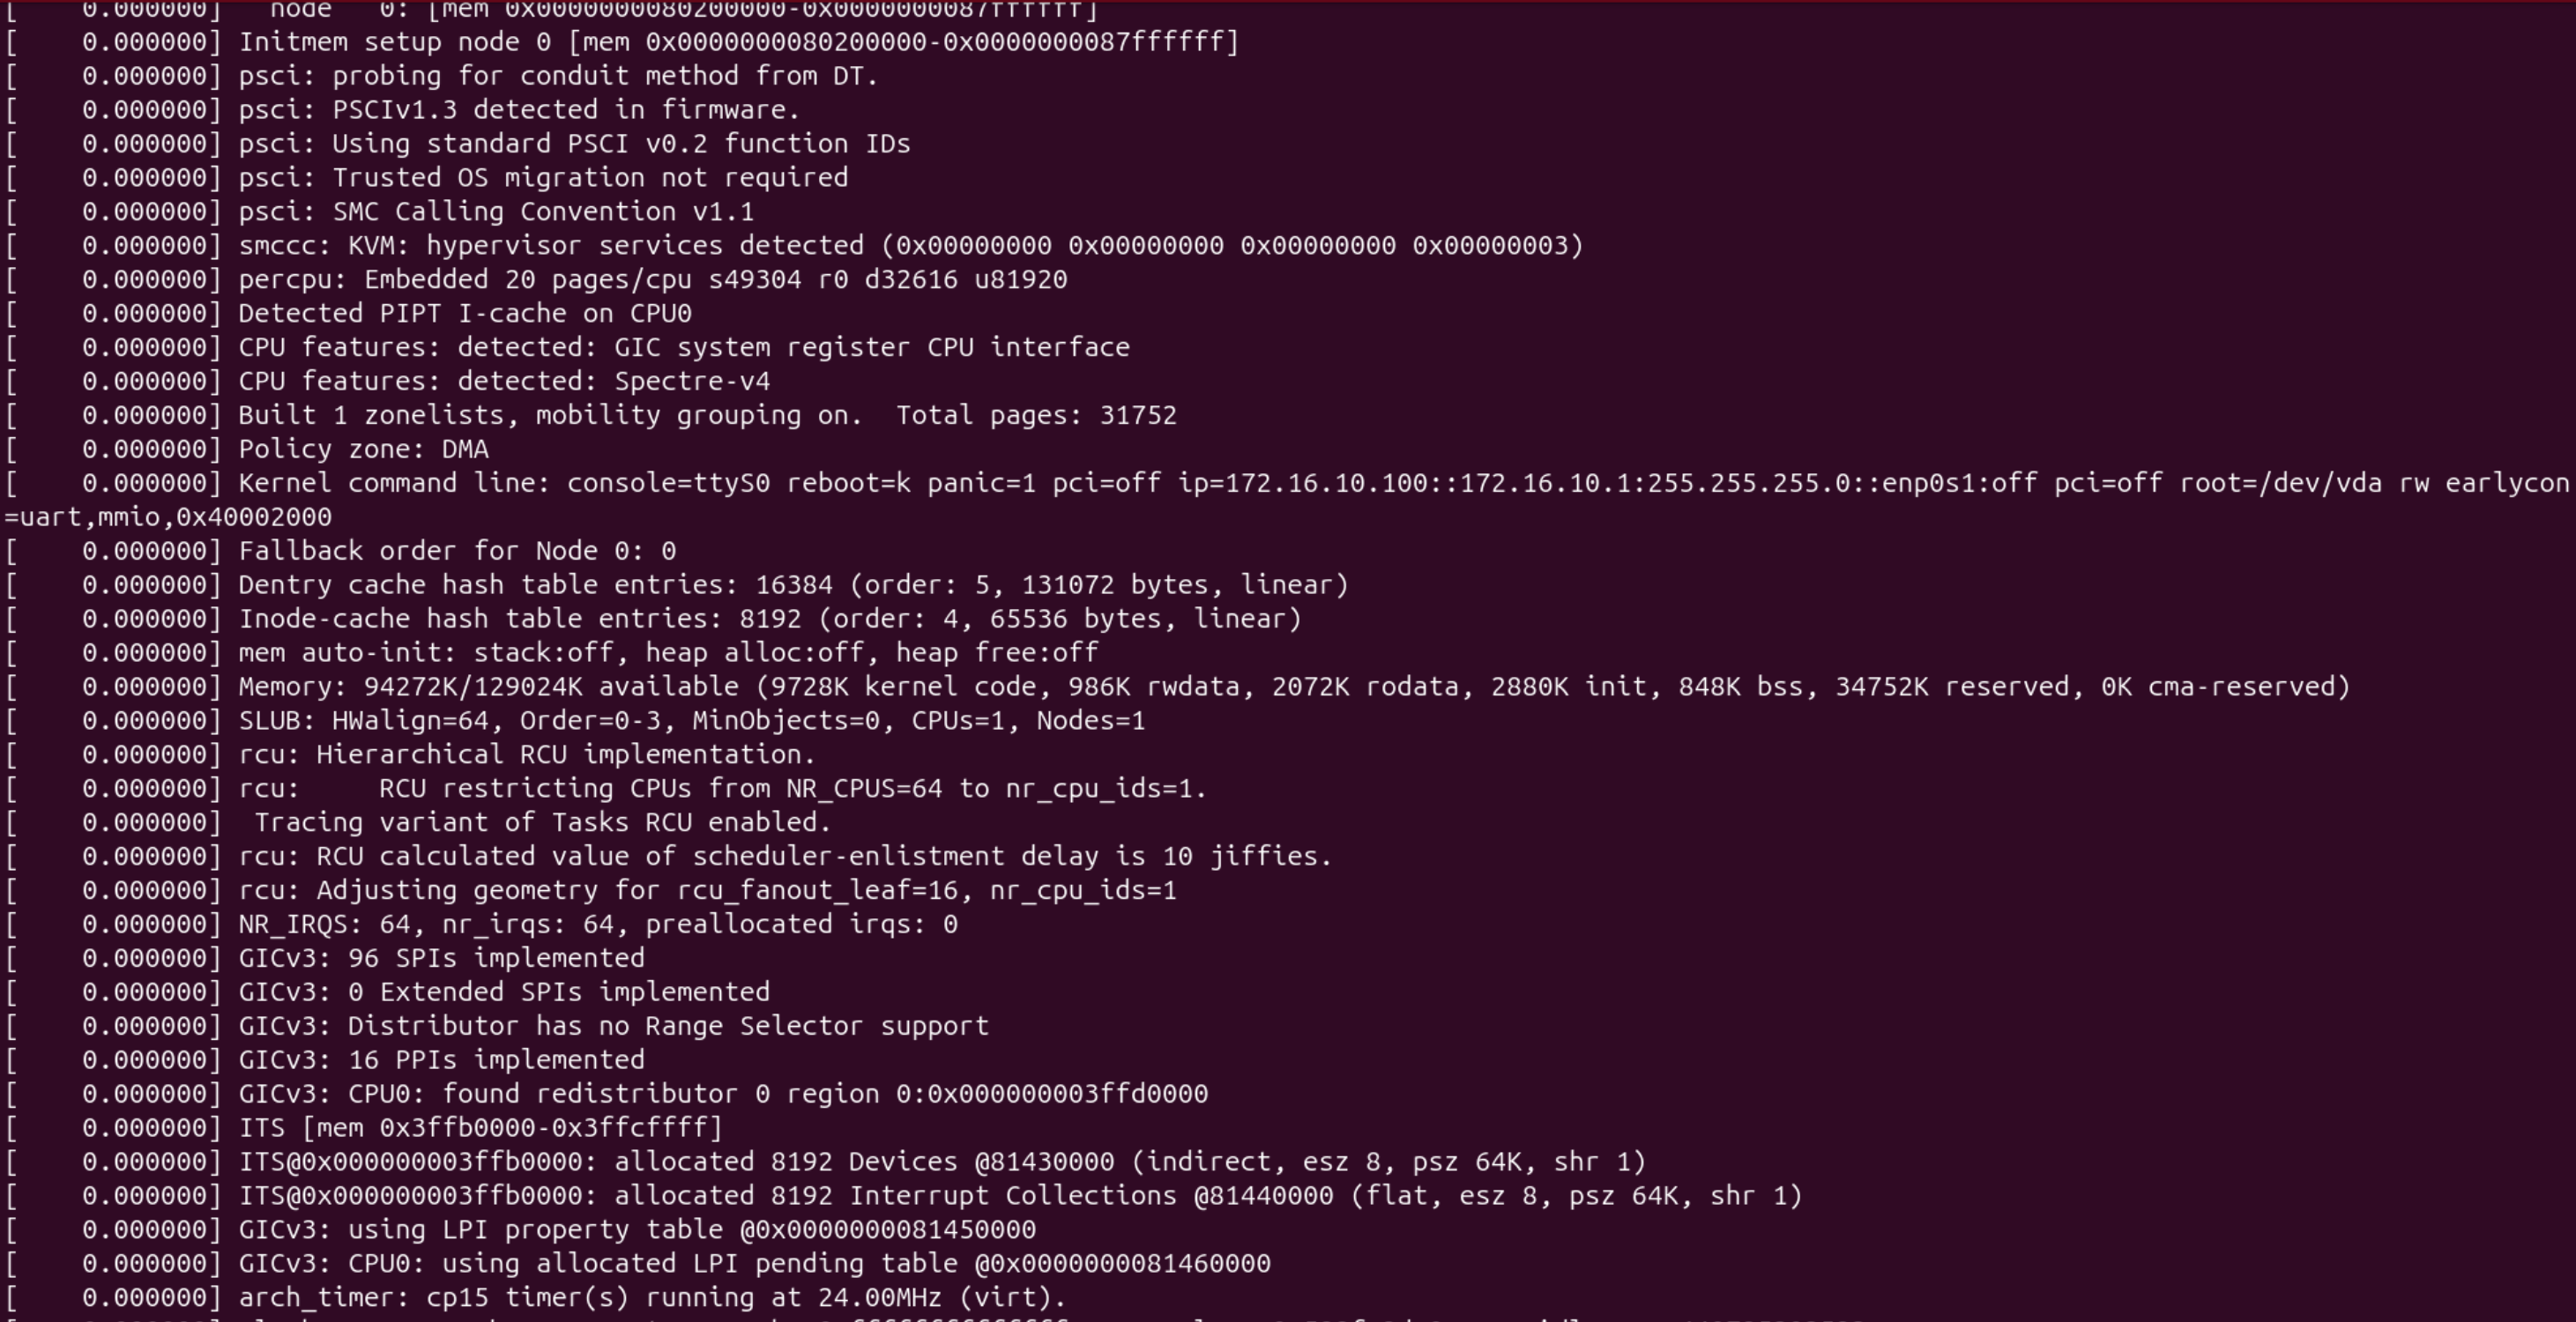
When the microVM doesn’t receive an IP address, the dmesg log shows this message instead:
My exploration continued and led me to the conclusion that enp0s3 doesn’t work because Firecracker uses virtio-mmio devices, not virtio-pci devices. The enp0s3 naming scheme requires PCI bus/slot information, which MMIO devices don’t have.
Other Resources: