
Creating a VM in Proxmox is pretty straightforward and easy to configure. However, automating the process can save us time efficiently. Automation benefits extend beyond creation, it can also simplify deletion, resource allocation modification, and other tasks once implemented in Terraform.
To get started, we need to find a Terraform module suitable for Proxmox. I found this promising module on the Terraform Registry. Here’s the file structure of my Terraform directory.
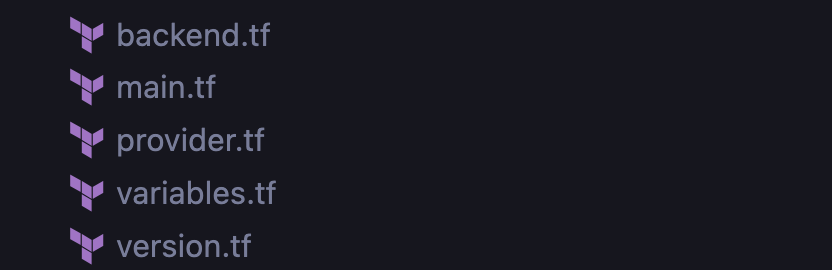
For storing the state of Terraform in my Homelab, I use MinIO, which is already deployed on my Proxmox server. This setup has been discussed in this post. Here are the Terraform files you can refer to.
provider "proxmox" {
  endpoint  = var.proxmox_endpoint

  insecure = true
  username  = var.proxmox_username
  password  = var.proxmox_password
}
variable proxmox_endpoint {
type = string
default = "https://x.x.x.x:8006/"
}
variable proxmox_username {
type = string
}
variable proxmox_password {
type = string
}
variable node_name {
type = string
default = "lab"
}WARNING
Please change the node_name value to match the name of your node as configured in Proxmox.
terraform {
  required_providers {
    proxmox = {
      source = "bpg/proxmox"
      version = "0.69.0"
    }
  }
}
resource "random_integer" vm_id {
min = 100
max = 999
}
resource "proxmox_virtual_environment_file" "cloud_config" {
content_type = "snippets"
datastore_id = "snippets"
node_name = var.node_name
source_raw {
data = <<-EOF
#cloud-config
hostname: elastic
package_update: true
chpasswd:
list: |
root:${random_password.password.result}
expire: false
packages:
- apt-transport-https
- ca-certificates
- curl
- gnupg
- lsb-release
- unattended-upgrades
- net-tools
runcmd:
- install -m 0755 -d /etc/apt/keyrings
- curl -fsSL https://download.docker.com/linux/ubuntu/gpg -o /etc/apt/keyrings/docker.asc
- chmod a+r /etc/apt/keyrings/docker.asc
- echo "deb [arch=$(dpkg --print-architecture) signed-by=/etc/apt/keyrings/docker.asc] https://download.docker.com/linux/ubuntu $(. /etc/os-release && echo "$VERSION_CODENAME") stable" | tee /etc/apt/sources.list.d/docker.list > /dev/null
- apt update
- apt install -y docker-ce docker-ce-cli containerd.io docker-buildx-plugin docker-compose-plugin
- git clone https://github.com/deviantony/docker-elk.git /opt/docker-elk
- docker compose -f /opt/docker-elk/docker-compose.yml up setup
- docker compose -f /opt/docker-elk/docker-compose.yml up -d
EOF
file_name = "cloud-config.yaml"
}
}
resource "proxmox_virtual_environment_vm" "ubuntu_vm" {
name = "elastic"
tags = ["Terraform"]
node_name = var.node_name
vm_id = random_integer.vm_id.result
stop_on_destroy = true
startup {
order = "3"
up_delay = "60"
down_delay = "60"
}
network_device {
bridge = "vmbr0"
}
cpu {
cores = 2
type = "x86-64-v2-AES" # recommended for modern CPUs
}
memory {
dedicated = 8192
floating = 8192
}
disk {
datastore_id = "local-lvm"
file_id = proxmox_virtual_environment_download_file.ubuntu.id
interface = "scsi0"
size = 100
}
initialization {
ip_config {
ipv4 {
address = "dhcp"
}
}
user_account {
keys = [file("/Users/<username>/.ssh/id_rsa.pub")]
username = "root"
}
user_data_file_id = proxmox_virtual_environment_file.cloud_config.id
}
serial_device {}
}
resource "proxmox_virtual_environment_download_file" "ubuntu" {
content_type = "iso"
datastore_id = "local"
node_name = var.node_name
url = "https://cloud-images.ubuntu.com/noble/20241210/noble-server-cloudimg-amd64.img"
}
resource "random_password" "password" {
length = 16
override_special = "_%@"
special = true
}
output "password" {
value = random_password.password.result
sensitive = true
}As you can see, we set a random ID to be used as the VM ID. This is typically required when creating a VM or CT in Proxmox, so generating it randomly can be helpful.
WARNING
proxmox_virtual_environment_file resource is used to deliver our custom script as a snippet. By default, Proxmox doesn’t enable this type of storage.
To activate it:
- Access your Proxmox server.
- Go to Datacenter.
- Click on Storage.
- Select the Add button.
- Choose Directory as the new storage type.
- Fill the ID field with snippets.
- Set the Directory value to /snippets.
This will create a new storage location within Proxmox named snippets where your custom scripts will be stored. You can also access this location via the shell.
If you have not enabled snippets, you might encounter the following error when applying Terraform:
the datastore "local" does not support content type "snippets"; supported content types are: [backup iso vztmpl]
Remember that the ID you set will be used as the datastore_id value within the proxmox_virtual_environment_file resource.
I’ve included cloud configuration as part of the script to be executed at the first boot. This will automatically install the necessary packages, eliminating the need for manual installation. The configuration, called cloud-init (you can refer to it here), is similar to userdata in cloud providers. It allows you to define scripts that run during VM creation.
cloud-init configurations offer various options beyond package installation, including running Ansible automations, changing user passwords, and more.
This example demonstrates an automation that creates a new VM to run the ELK stack using Docker on Ubuntu 24.04. We’ve set the VM’s RAM to 8GB, which is the minimum requirement for running the ELK stack.
Next, let’s provision our VM using the following commands:
terraform init -backend-config="access_key=xxxx" -backend-config="secret_key=xxx"
terraform plan
terraform apply -auto-approve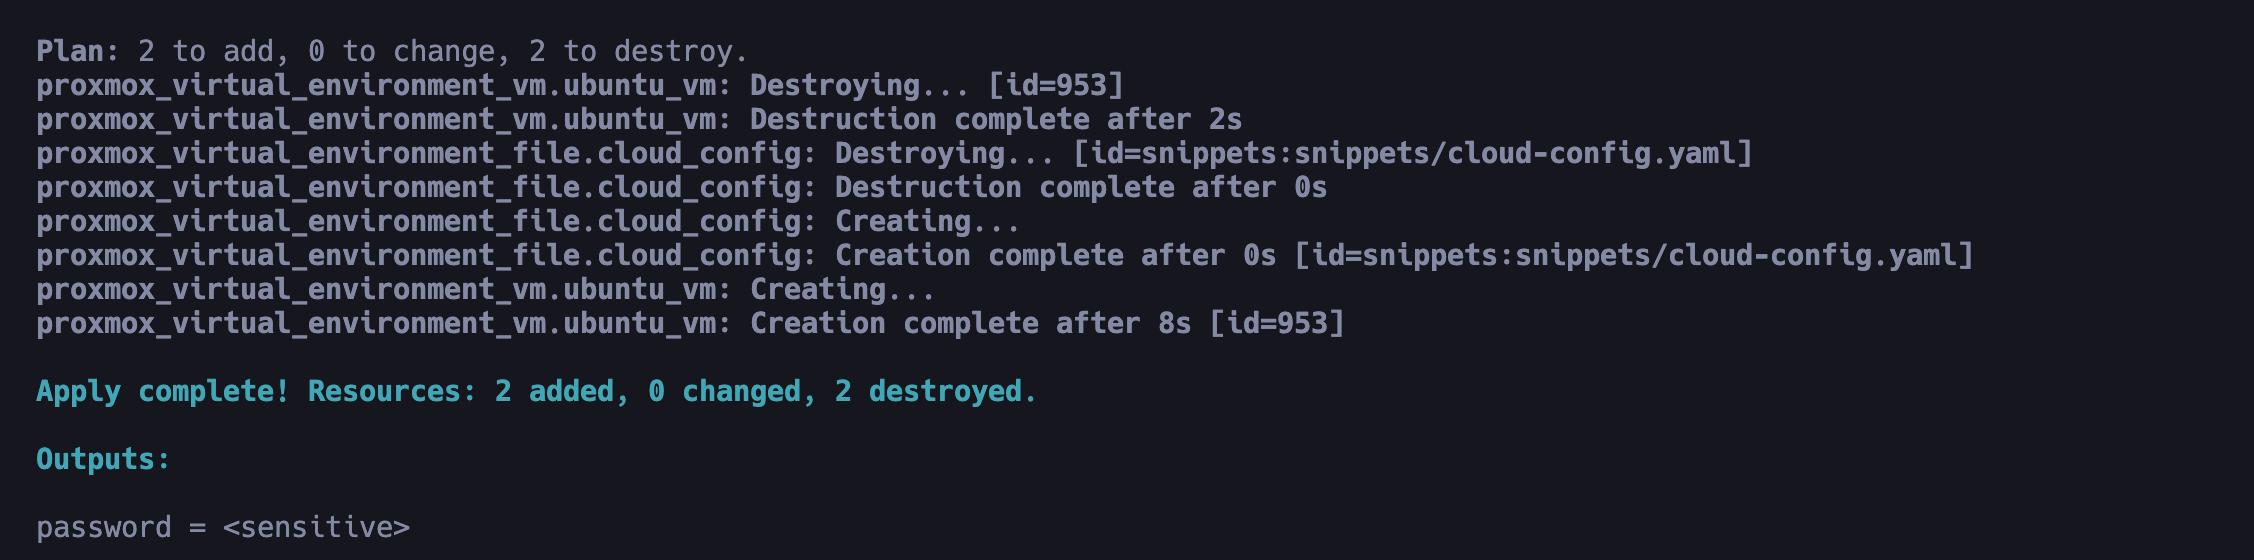
You can remove -auto-approve flag if you prefer to review the changes that Terraform will apply before proceeding.
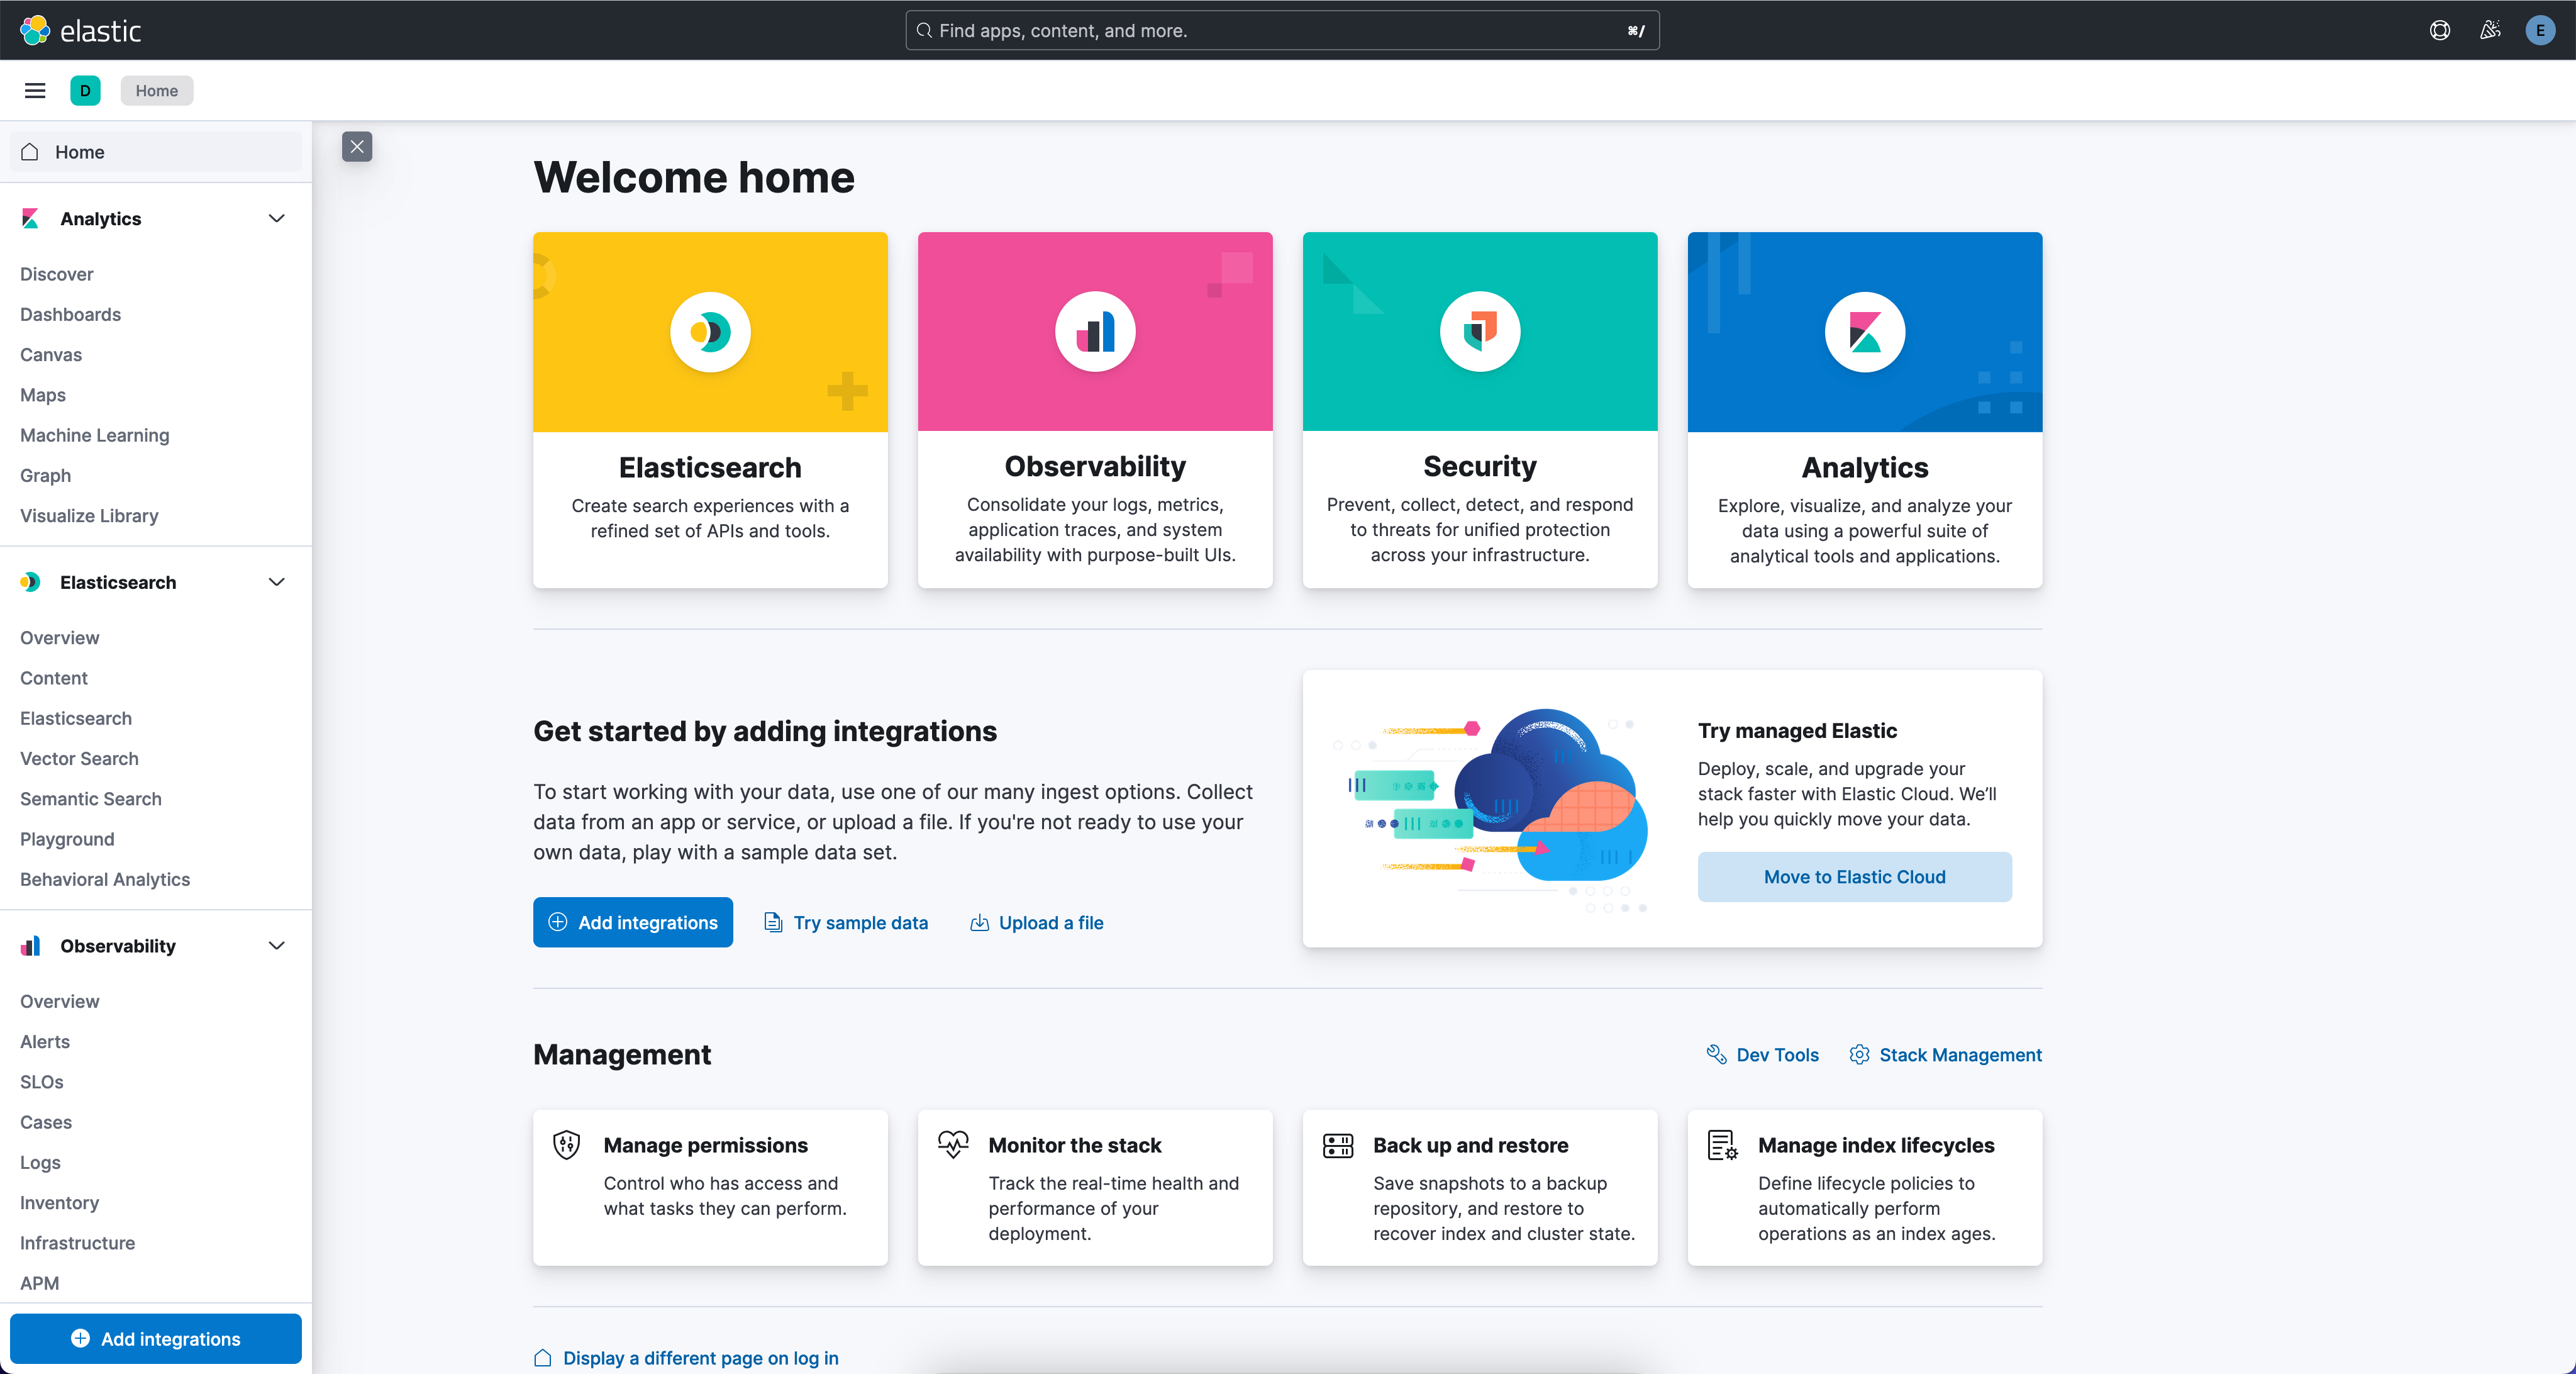
After a few moments, your ELK setup will be ready. Access it using the default credentials: username elastic, password changeme. Log in to the VM and obtain its IP address. You can then access it locally or use Twingate again to expose it as needed.
Happy automation!