This idea might seem ridiculous, why would we want to access a local homelab from a public network? Homelabs are rarely accessed from outside; that’s why it’s called a “homelab,” only accessible within our local network at home, and the purpose is to not expose it. But have you ever thought about wanting to experiment with something using your homelab while you’re away? Like during travel for an event, vacation (for those who can’t resist tinkering with their servers—I’m that kind of guy), etc.
Now, we understand that a homelab is only reachable on a private network when your device is connected to the same router. To make the resources accessible publicly, we might need to configure our router to allow connections to one or more apps we’ve deployed in the homelab, like a mini PC running Proxmox or VMware, or a Raspberry Pi. Making our services accessible via the router’s public IP can be dangerous since most of our devices use the same router. It can lead to systems being compromised or hijacked, etc.
For this reason, we need to figure out a way to access our homelab server without exposing it to such risks. That’s when I found a software called Twingate that helps me make my Proxmox access reachable wherever I go, as long as I’m connected to the internet.
Before coming across this software, I tried Cloudflare Tunnel. It seemed to work, but I didn’t want to access my resources through a domain. But if you just want to expose one service not a lot like a web server from your homelab, I might suggest giving Cloudflare Tunnel a try. The setup is pretty straightforward, after installing cloudflared on your system, you’ll be able to access it via the given random domain or your custom domain. This functionality didn’t satisfy my needs, but it’s still good for some cases. Hence, I went with Twingate.
Twingate has a pretty simple setup. As usual, we install a tunneling daemon similar to cloudflared, but for Twingate.
Since I’m using Proxmox, I needed to create a new LXC container that will be used by the Twingate Connector to connect with their app without exposing anything else in our homelab. As shown in the image below, I created a new container and followed the steps provided by Twingate after registration.
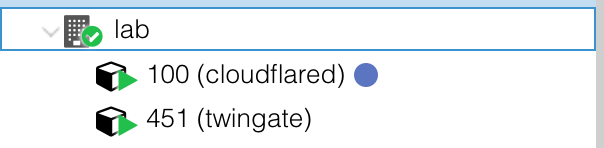
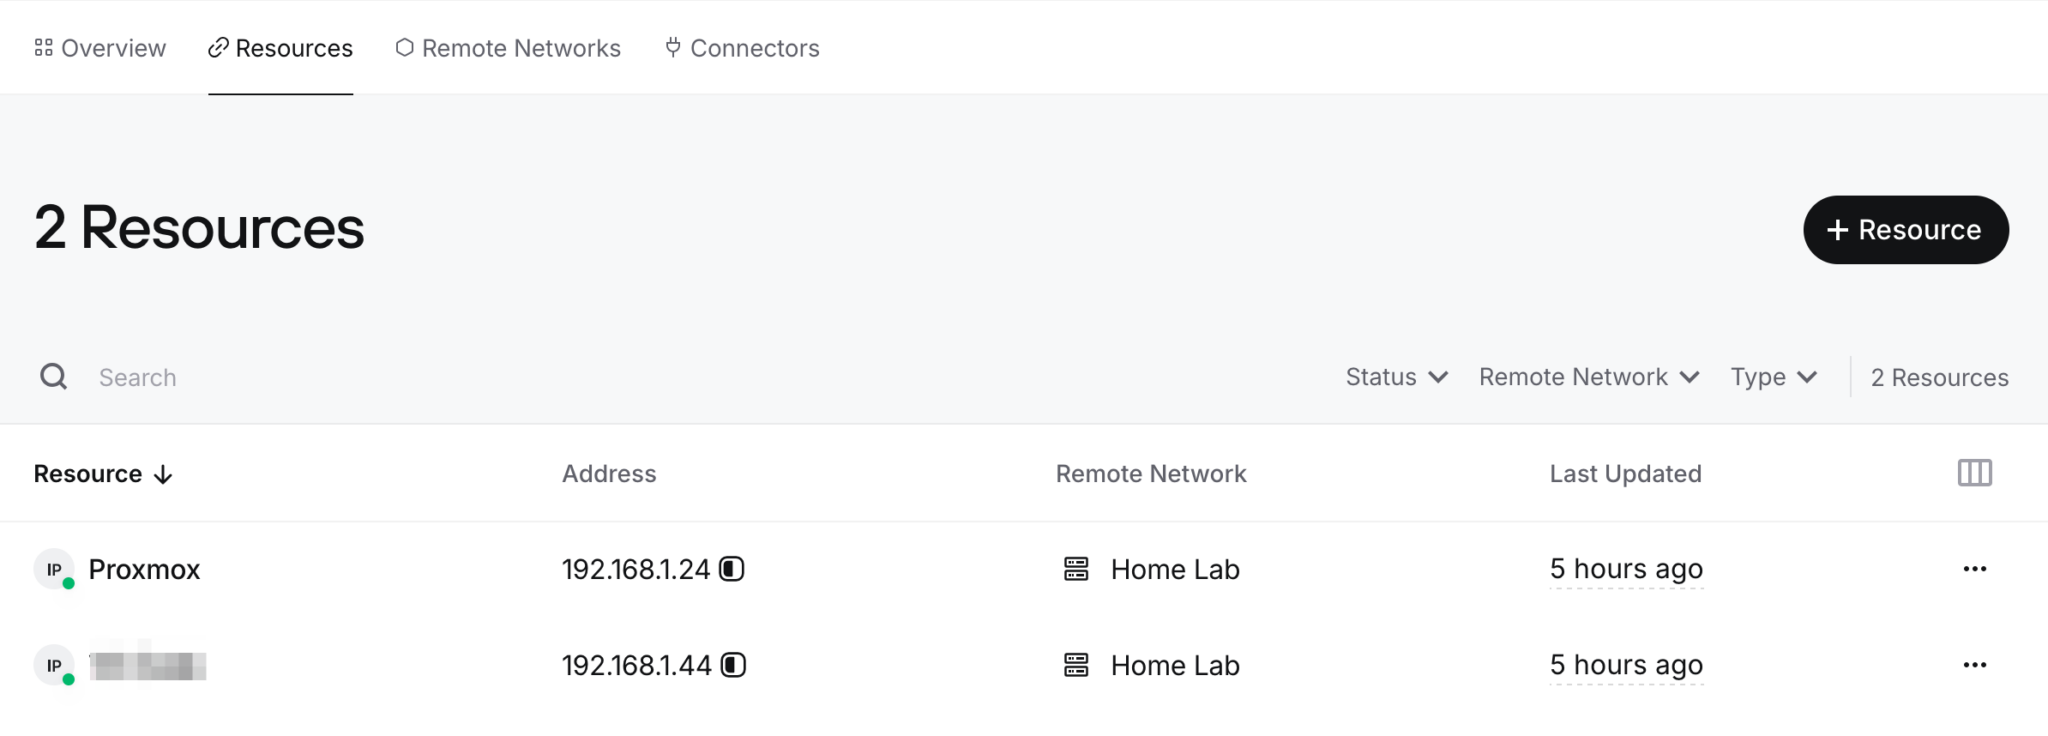
Once the setup is completed, you’ll be able to add a new resource to expose one of your apps in the homelab. You just need to define the app’s IP address, and you can also set specific ports that need to be exposed not necessarily all of them.
After adding the resource, to test if it works while accessing the private IP even when not on the local network (LAN), we need to do one more thing, download the Twingate Client app. It’s similar to OpenVPN Connect, which we’ll use to connect with them and then access our resource.
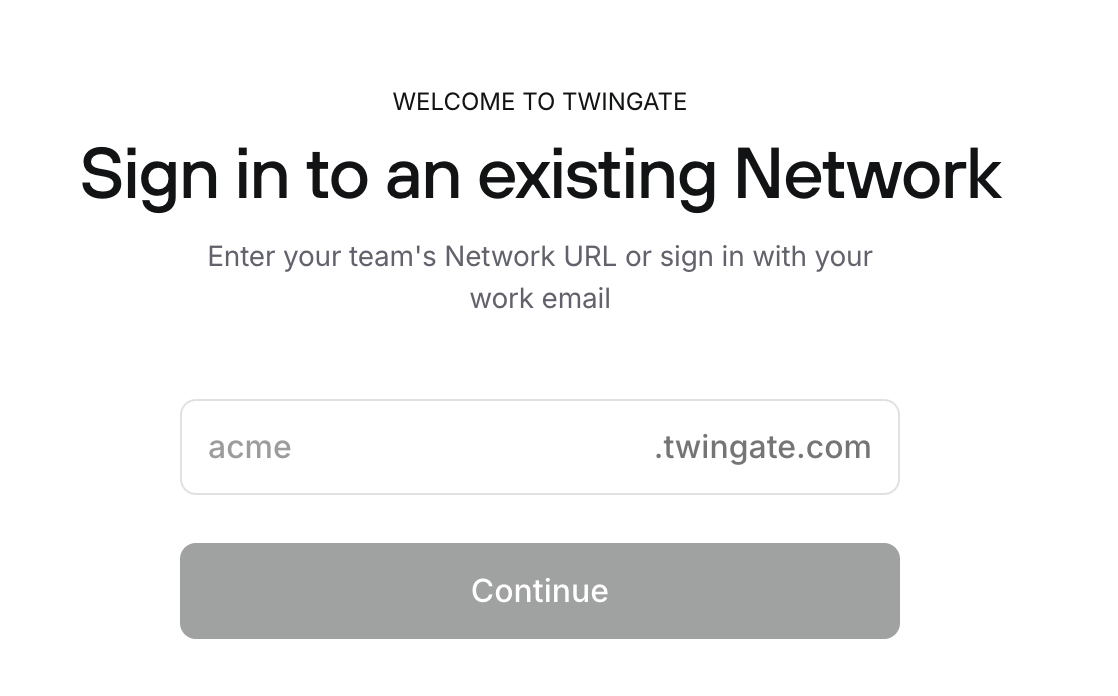
The interesting part about Twingate is that we just need to enter our Twingate domain (xxxx.twingate.com) and log in through our Google account. Once done, the Twingate Client will show all the resources you’ve added as active, and our connection with them is running. This means we’re now able to access our service by typing its IP address like we would on a Local Area Network (LAN)—but let’s say we’re outside now.
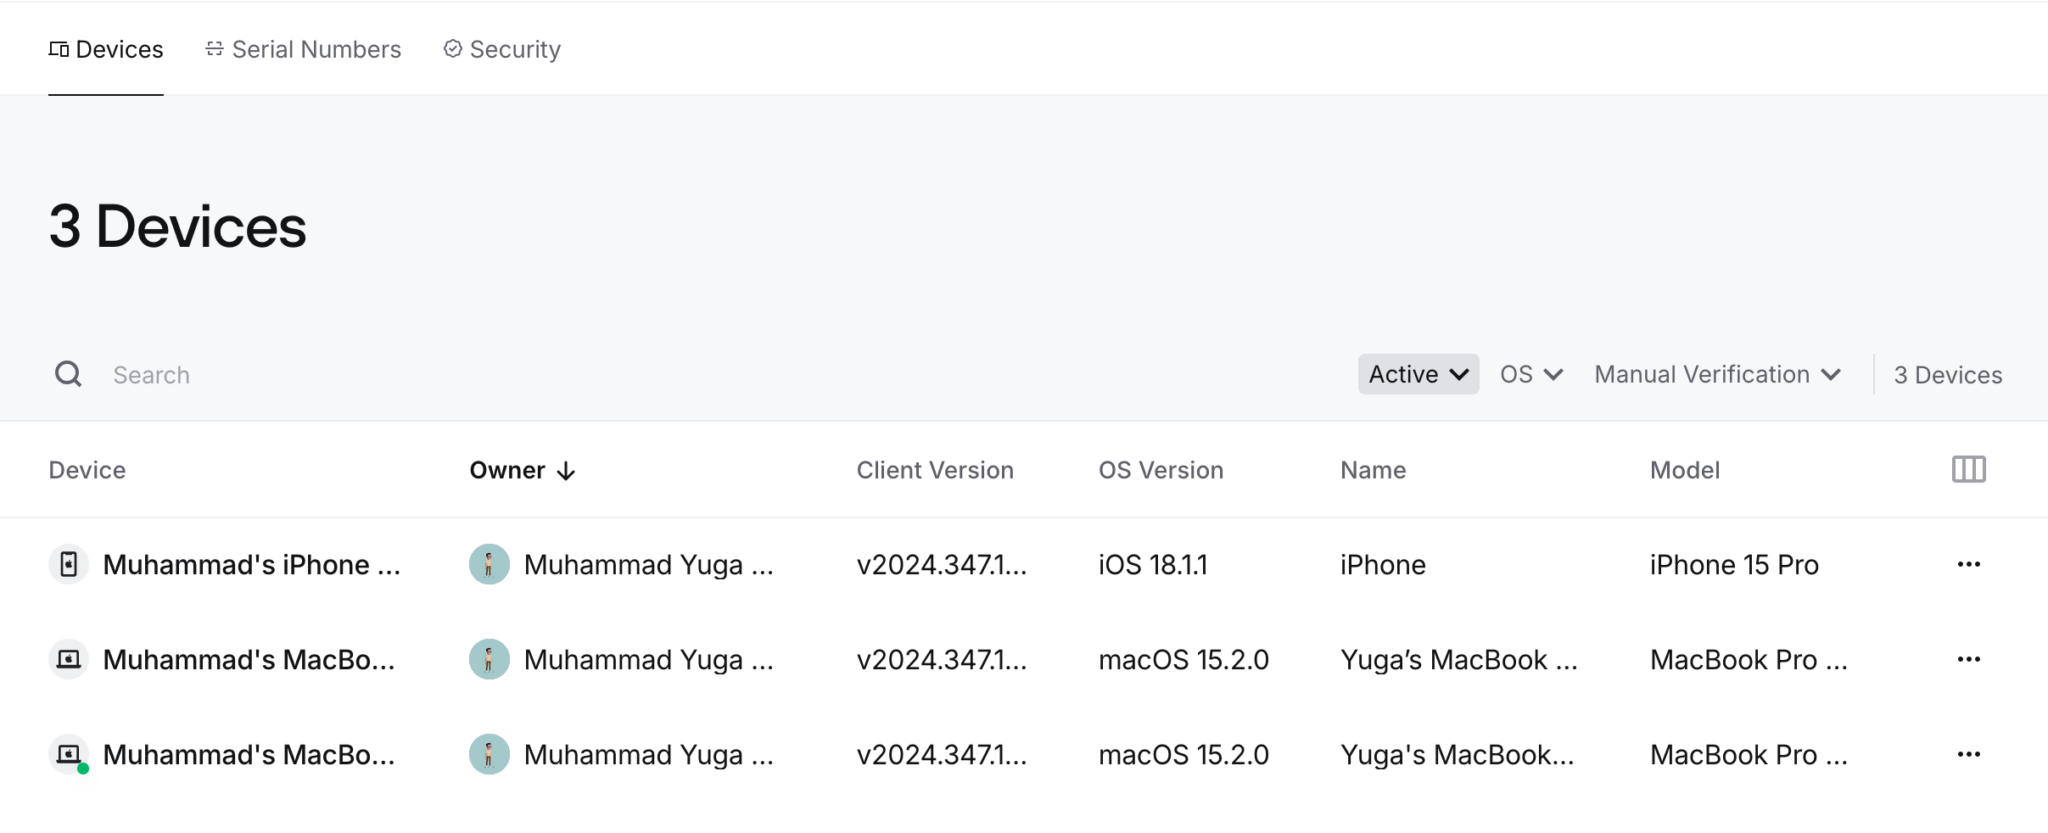
Surprisingly, it’s a pretty simple setup and easy to use. It also comes with some policies that help ensure that those accessing our resources are really allowed by rules, such as which OS device we’re using (Windows, Linux, macOS, etc.). Really amazing configuration and minimalist security settings like MFA, biometrics, etc. But honestly, for geoblocking, they only provide it to Enterprise users, but who minds if we’re using it for personal use, right?
Well, that’s my story that can free up my mind whenever I’m going as long as there is no blackout happening at my home 😂